Showing posts with label Project Quilting. Show all posts

Sunday, January 15, 2012

Sew Blue or Possibilites

Project Quilting Season 3 has begun!

The first challenge:  Architectual Elements

Our inspiration needed to come from architecture, it had to be a quilt (i.e. three layers), and it had to be constructed completely in the challenge week.  Other than that we were pretty much given free rein.  There were no limits on size or methods or material. 

Here's my inspiration:
I'm a contast new home window shopper.... always searching for the next best home. I love looking at the floorplans and drawings available on new home sites, imagining what could be added, detracted, or moved around to suit me and what I percieve as the ideal living conditions. It's only a drawing so it holds infinite possibilities for the end product!

My quilt is a whole cloth, small quilt with a plain white base and only blue stitching. To me, it feels full of promise and is calming to view. I'm re-doing my sewing room and this will hang on the wall after I paint..... this may have helped me decide on the color blue for the walls :)


New for this season of Project Quilting:
  • no judging (this was one of my favorite parts - I was never a judges' favorite but I found their critiques to be extremely helpful and inspiring)
  • no voting for viewers' favorite
  • ANYONE that enters has several chances to win a prize.... and the prizes are pretty good!

Monday, April 4, 2011

Funky Froggy Flowers

The final challenge for this season's Project Quilting was "Large".  We had to use at least a quarter yard of a large scale print.  We also had to use at least one stripe or plaid. 

I had some large scale colorful frog print squares that equalled somewhere between a quarter yard and a half yard.   I chose one subtle stripe fabric and one stipe fabric that was just a little bolder.

Though I like the frog fabric, I didn't want my piece to be all about frogs.  I really wanted to  play with textures and that helped to disguise the frogs a bit but still let the colors shine.  I made three different kinds of flowers. 

One had petals that became very textured and bumpy through the use of Texture Magic and batting.  

Another flower had petals with batting and straight line quilting.  All of these petals were appliqued to the background with a zig-zag stitch. 

The three smaller flowers are circles of fabric each gathered around a circle of very stiff stabilizer that's just a little too big.  Gathering tightly caused the stabilizer circle to bow and bend a little, adding an extra element of texture to the gathers and keeping the flowers from laying flat on the background.  Yellow buttons are in the middle of the flowers.  
Several shades of green embroidery floss were braided together for the stems of the larger flowers.

Using the subtle stiped fabric I sewed a few dozen pleats very close together.  I cut a vase shape and sewed the pleats down along the edge of the vase.  Down the center of the vase I pushed the pleats in the opposite direction and again sewed them down.  This gave another element of texture and also formed a new look to the stripes.  Sewing the pleats was much harder than I anticipated but I love the look.

The piece was quilted with slightly curvy diagonal lines and bound with the brighter stripe fabric.  I thought I'd cut the binding on the bias but after the diagonal quilting decided to go with straight stripes.

The judges have a few good suggestions on how this could have been better... I might not be finished with it.

You can see the rest of the entries at Kim's Crafty Apple and at the Project Quilting with KimsCraftyApple flickr group.

The season had ended.  It was fun to see all the different interpretations of the challenges.  I loved having the challenge to make new projects and the judge's critiques were so helpful.  They gave great tips for improving and I seldom disagreed with anything they said.  I would find myself looking at my works-in-progress in different ways.  We all help out each other on our blogs but I think we tend to only make supportive comments.  The Project Quilting judges were anonymous - that may have made it a little easier to offer constructive critism.  Thank you to all the judges for your time and advice!

And thanks, Kim, for another great season!

Sunday, February 27, 2011

From Hardware To Soft Quilt

The Project Quilting Hardware Challenge required at least 3 items of inspiration from a hardware store.

While I don't normally shop there for quilt stuff (although it has happened), I love the hardware store here in town, Knapp & Steiner True Value.   A visit to the hardware store in Chicago would generally make me uncomfortable.  I'd have to admit I didn't know what I was doing, didn't know what I was looking for, and was probably using the wrong words to describe it.  All this to a stranger.  But here, you walk in and they call you by name, help without making you feel stupid, or leave you alone if you need to look around.  There is usually a pleasantry exchanged, a smile, a laugh.  And, as often as not, you run into someone else you know.  Always a pleasant visit.

So here is how my quilt came to be....

Walking through our local hardware store I am always drawn to dowel rods. They are just the handiest thing.

I love the way they are all stacked and poking out of their holders. On this trip I also noticed all the coiled objects, all in lots of colors... the wires on spools, extension cords.

I noticed the stock had changed and Spring items were taking their places on the shelves. There were things for planting and many decorative items.

One display had oversized objects (butterflies, birds, etc.) on long poles to stick in the garden for decoration. And through it all an old wood floor worn by years and years of town people wandering the aisles looking for just the right part to fix something. Anything is possible with the right part!


The background was inspired by the wood floor. All different boards worn in different ways depending on the foot traffic, or stock placement or sunshine. I used pieces of tans, browns, neutrals and wavy line quilted with several different threads: browns, beige, gold, peach.

The flowers (inspired by those colorful coils) are biased strips of fabric gathered and stitched in circles on a stiff fabric circle background. Each have three beads for the center. Dowel rod stems insert in to bits of fabric on the back and entire flower can be removed from its holder.

Sun is a circle plus separate rays, all reinforced with heavy stablilizer. It's fashioned after a large metal decorative sun that was hanging in the store.

Sun is stiched in a few places but left free in others to highlight the 3D effect.

Spring quilt is pieced bright colors with appliqued letters and winding leaves (soon to sport flowers?). Instead of binding, ric rac is peeking out of the edges that hold the front, back and batting together. Quilt can be removed - it is hanging with another dowel rod. With the flowers and quilt removable, the entire project can be changed to adjust for the seasons. More fun!


Finished quilt measures 30" x 22" and is titled "Spring IS coming".
 
Head on over to Kim's Crafty Apple to see a dozen more hardware store inspired quilts.  Such variety and creativity!  You might also win a coffee cozy!
 
Me, I'm heading back to my sewing room as I have enough left over inspiration from the hardware store for another quilt.  Maybe when I emerge Spring will be rounding the corner.

Monday, February 21, 2011

Hardware Stores and Quilts

I'm starting a new quilt today. 
I need to head to the store first for supplies. 

No, silly, not the quilt shop . . .

. . . .  the hardware store . . .

. . . . for the latest challenge from Project Quilting.

Come on.  Don't you want to try this too?!

Join the fun: 

There should be some interesting entries this time.
Again.


Tuesday, February 15, 2011

Our Love... Our Life

The lastest challenge for Project Quilting is up for voting.  And there's an awesome prize for the public comments.  ;)  

As I waited last week for the new Project Quilting challenge rules I just hoped that it would be anything but a Valentine theme. The last few projects I made had been valentines and frankly, I was tired of them.  Call me a Valentine Grinch.  The rules came out and "Be My Valentine" was to be our inspiration.   Groan. Moan. Whine. When I got finished moaning and groaning I settled on a project and finally started to get into it.  Turns out I loved the process and, while it won't have a lot of public appeal, it's one of my favorite quilts.


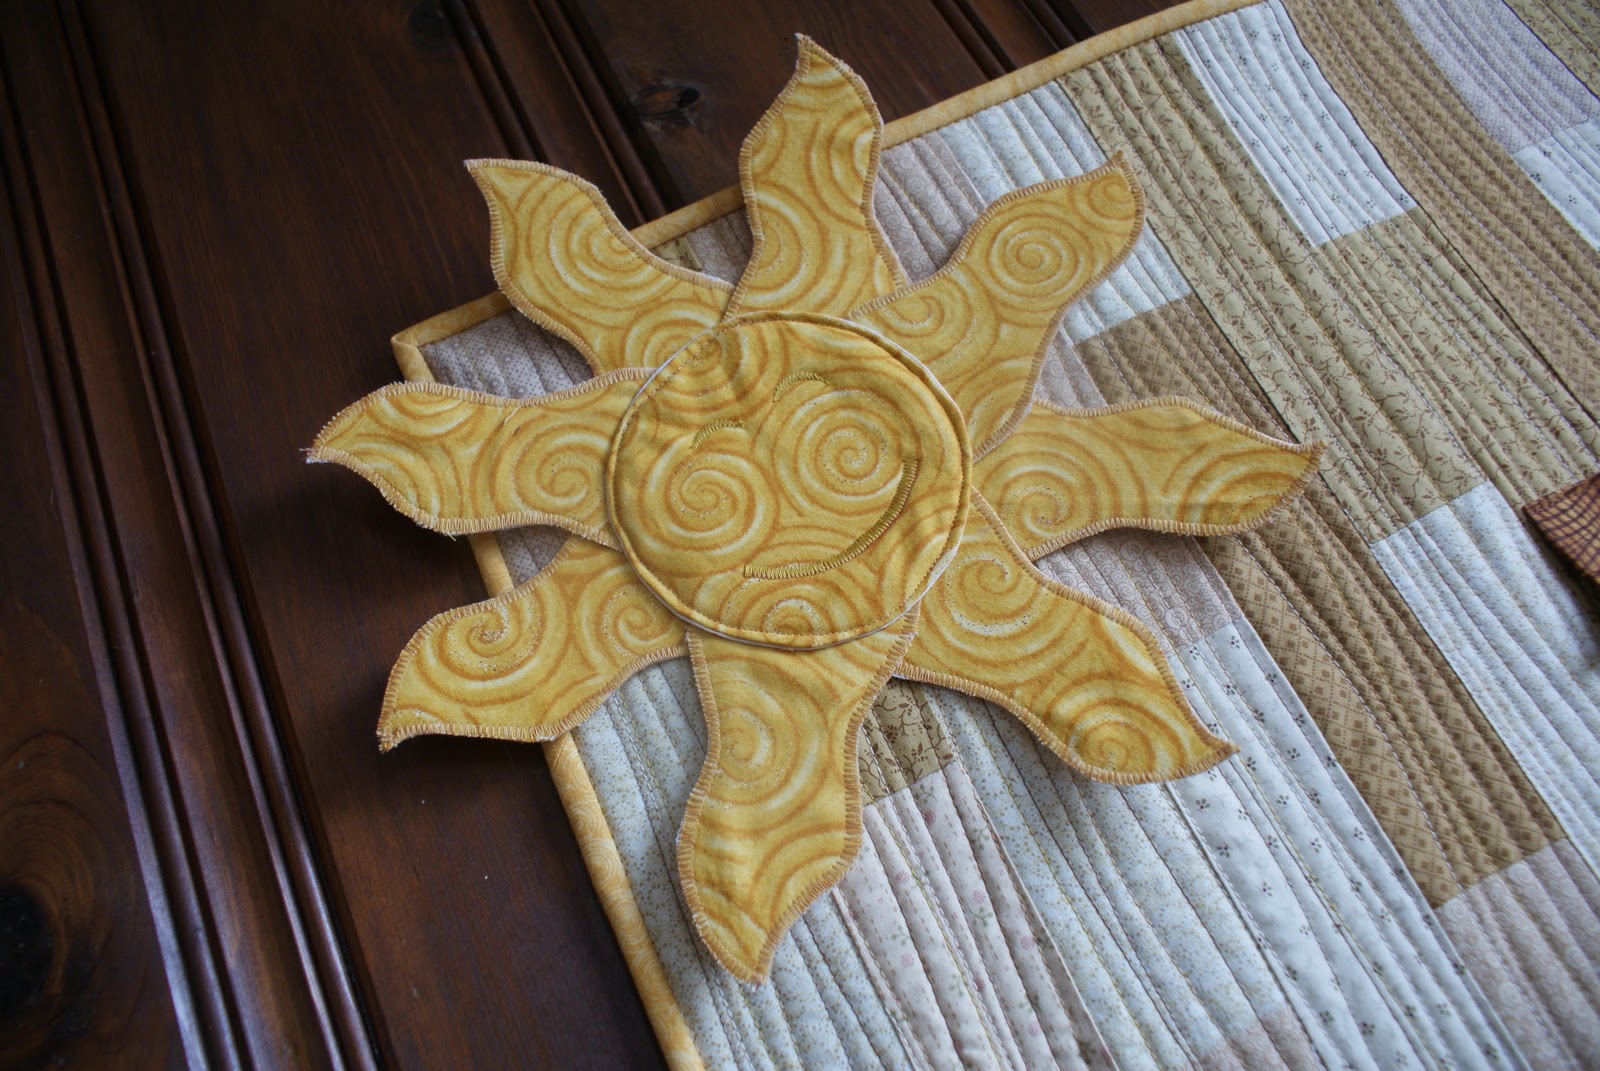
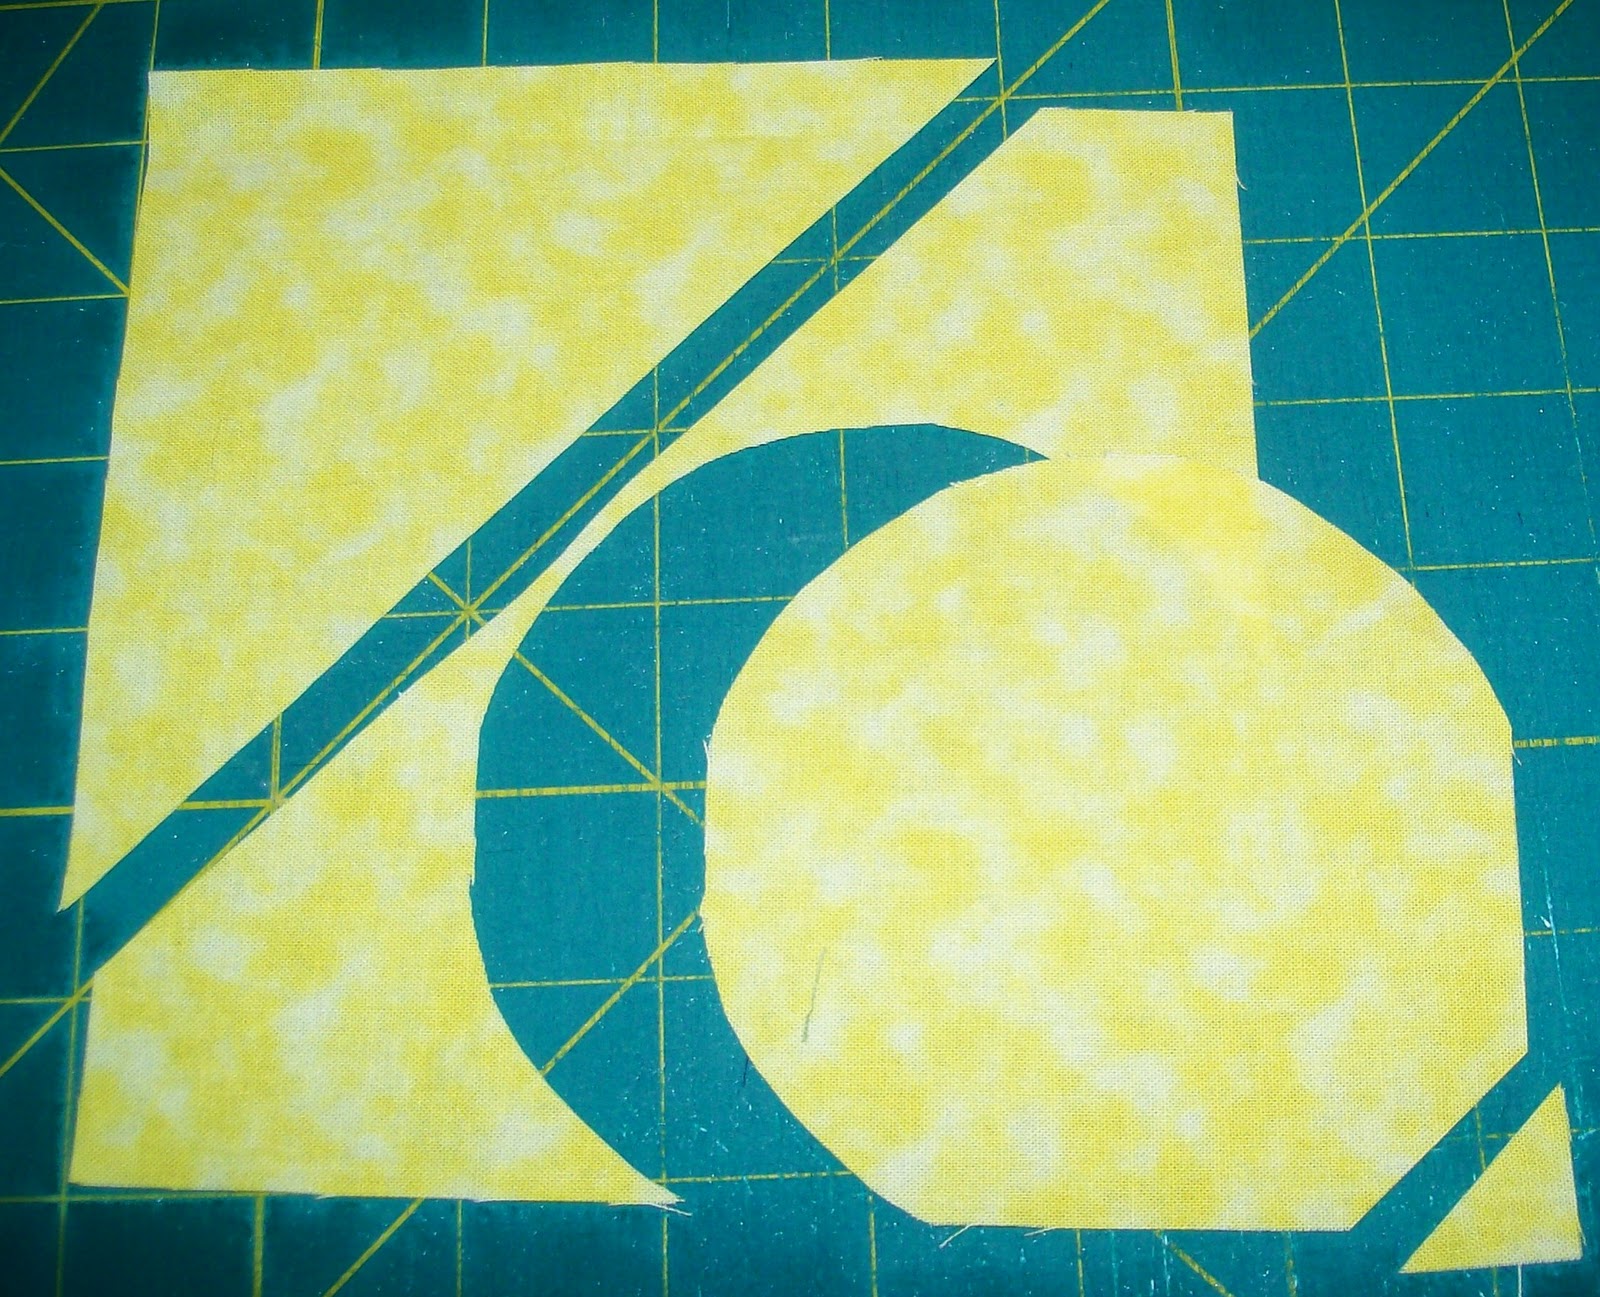
I started with our wedding invitation.  I enlarged the graphic and traced it onto fabric with a brown pigma pen.


We chose these invitaions because that's how we felt.... like little kids playing dress up.  Little did we know!  That's just what we were.... so young and clueless!  But it sure turned out great.

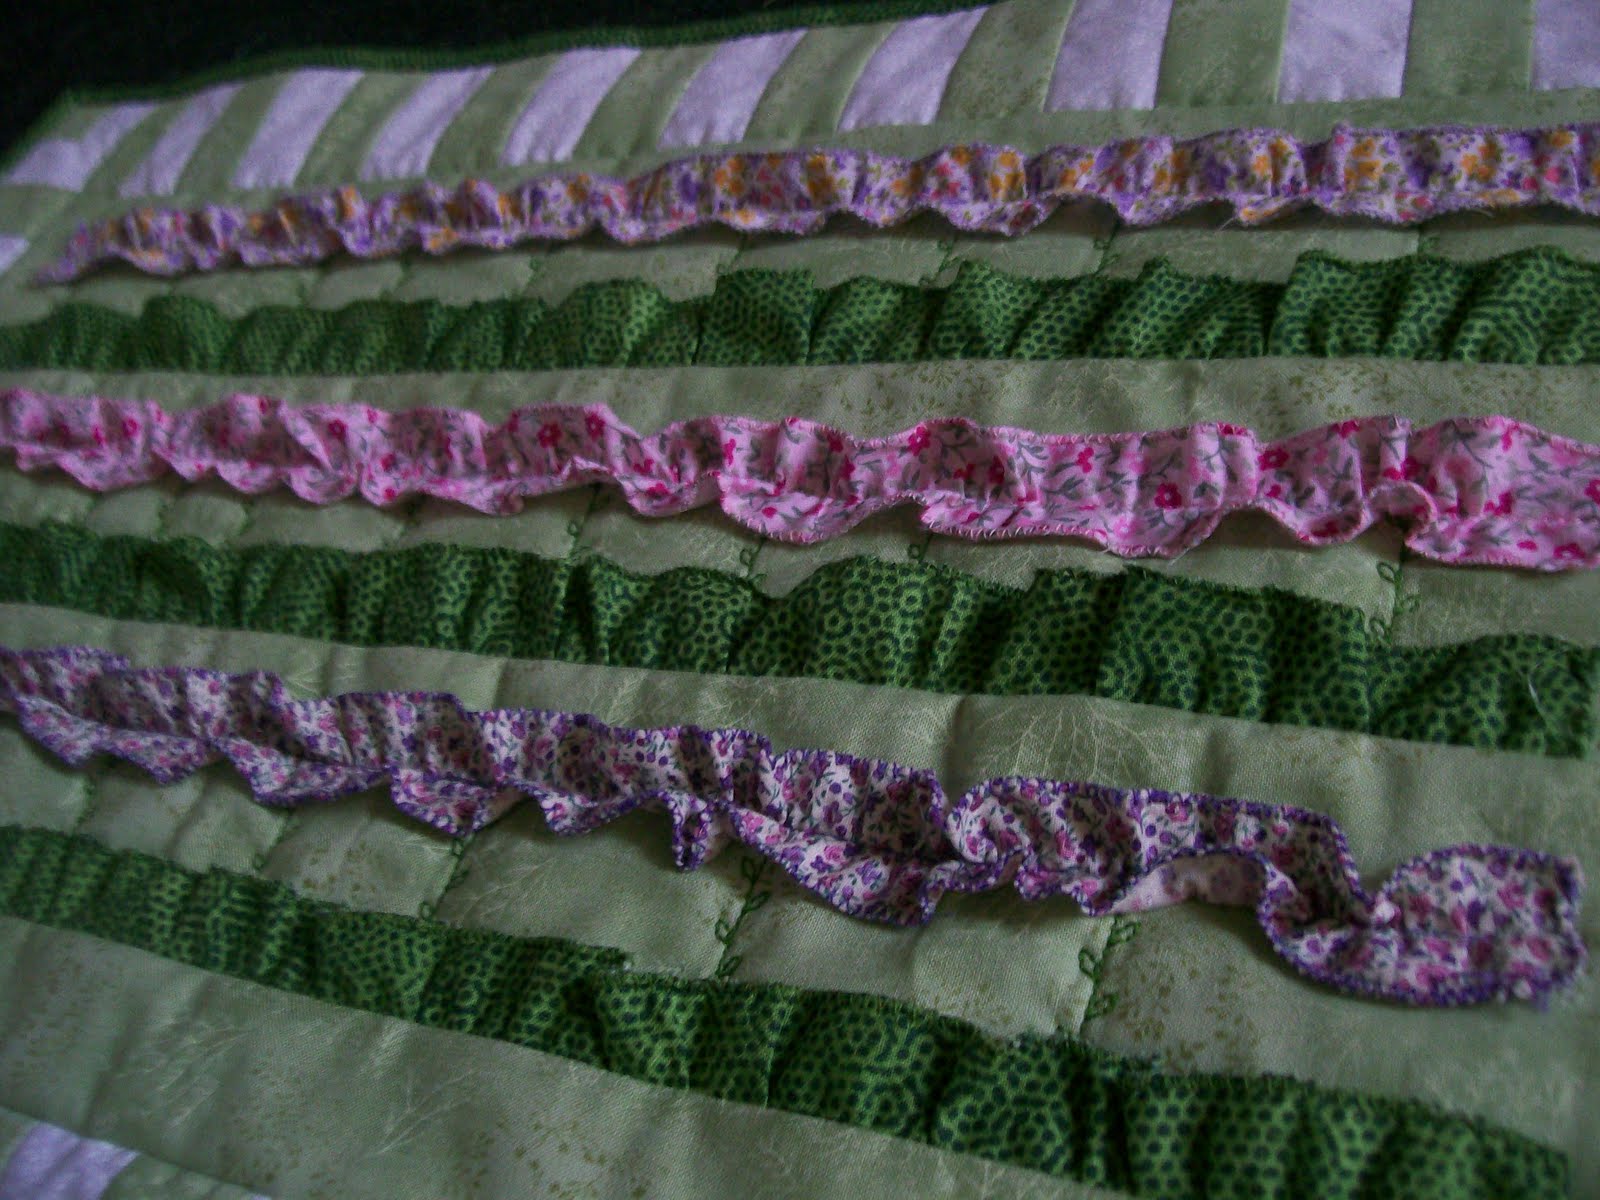
Then I began creating squares that represented different parts of our life together.

We quickly became a family of five.  Sorry boys.  Aside from the button heads, they look like they are running around in their pajamas - poor choice of fabrics.

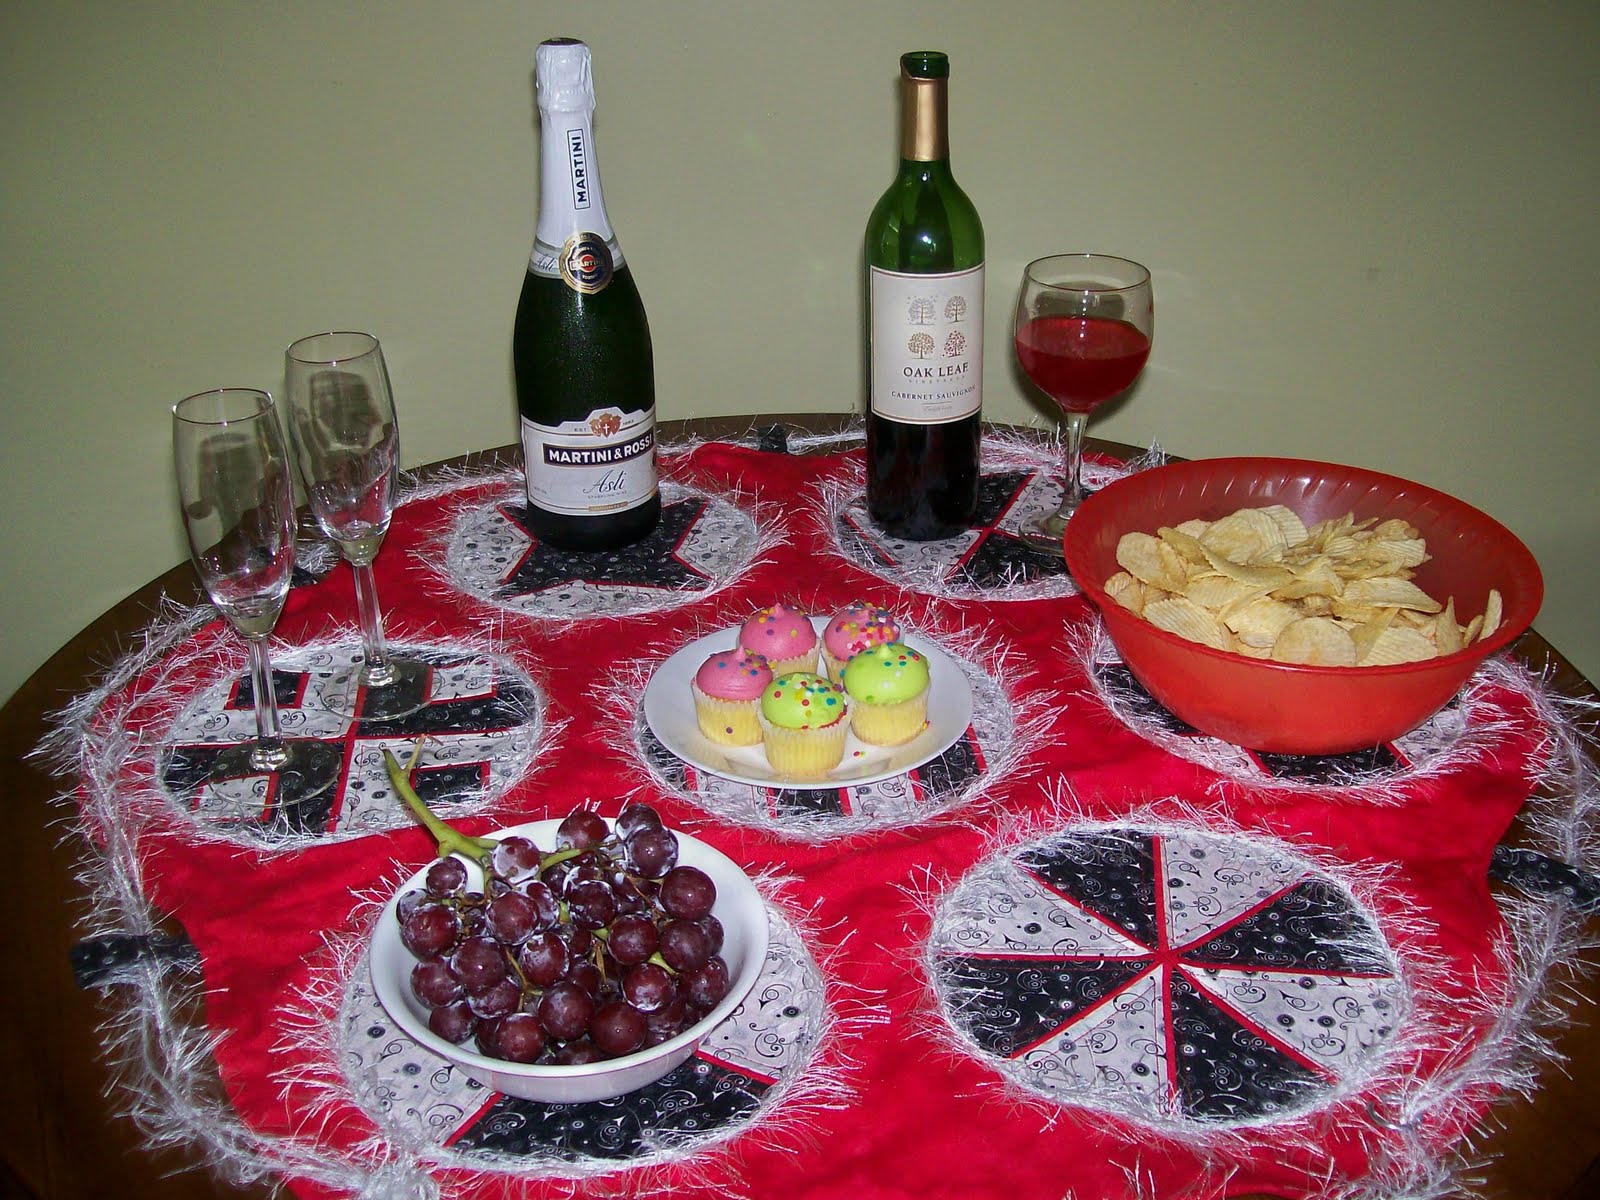
We didn't have a lot of extra money for entertainment.  Walks in the woods were free so we spend a lot of time doing just that, plus picnics, bike rides, cross country skiing, sledding.... we spent a LOT of time in the woods.

Car rides were another inexpensive form of entertainment for us.  (back in the old days when gas was so much cheaper!)  We would take long car rides and usually find somewhere to get out and walk for a while, or a park for the kids.


I rode all through my teen years and then Scott and I met on horseback. We rode for the first year we knew each other.  It got too expensive and we started a family so horses faded for a while.  When Justin was around 12 or so he wanted to learn to ride.  We took him and Adam for lessons and within in a year we were back into horses with three of our own boarded not far from home.  Trail rides, horse shows, teaching, hanging at the barn....


At some point we had enough money for a weekend home.  Not enough money for a lake home or anything like that, but we discovered that you could buy an old farm house for not too much.  Lots of room for the kids to run around and ride bikes and explore.  In the city we didn't let them roam to far at all so this was just right for us. 

There is a tree in the back yard of the second country home we had with our initials carved in it.  By this time the kids were getting older and didn't want to leave their friends to hang out with mom and dad miles away in the country.  Read 'boring'.  Sold the house. Sad dad.

Bird watching was one of the things we did in the woods.  The kids didn't quite share our enthusiam but did learn a lot about birds anyway.

This led to buying birds and then raising birds.  We had all kinds...  Cockatiels, parakeets, Nanday Conures, a Timneh Grey, Love Birds, and several different kinds of finches.  


 And then there were the other critters.  A stray dog and a stray cat started us off.  Then another stray dog joined with the first (literally!) and started a family.  They had two litters and we kept four of the puppies.  So at the farm we had six dogs and one cat.  Poor kitty sometimes thought he was a dog too.  Our pound is a wee bit smaller these days - but not much.

The farm.  Another old farm property we purchased just before retirement.  A place big enough to bring our horses to.  We turned it into the horse farm of our dreams, renovating the buildings with new stalls and other horsey things, added an outdoor and indoor arena, a few small fenced pastures and filled it with horses.  Even a few babies.  We lived our dream.  Awesome.


And this is how our family has grown.  An additional daughter and son came to us through marraige. And five beautiful grandchildren.   So blessed.


Our future is a blank canvas.
I can't wait to see what our Lord paints for us next!


Tuesday, January 18, 2011

Flights of Fancy

Project Quilting Season 2 has started!


The first challenge rules said:
- use at least one 6" square each of red, blue, and yellow
- all of the that fabric needed to be on the front of the quilt
- cuts were allowed to make no more than 4 pieces
- any other fabrics or materials could be added


I decided I wanted to use ONLY those three squares.  I cut lots of paper squares trying to figure out how to use the rest of the fabric after the balloons were cut.   Cutting the balloons left a funny curved piece with sharp corners that was the biggest challenge. 


After playing around I finally discover that cutting the triangle off left a piece that could be folded so the long edges met and it looked (sort of) like a kite. Adding embroidery floss tails completed the look.


The triangle became an airplane.  And the little triangle from the bottom of the balloon became the propeller or nose of the plane.


The balloons were quilted with a layer of batting, then another layer of batting was added before they were appliqued to the background.  The baskets are open at the top and made of tea-dyed burlap.


The quilting is lots of puffy clouds.


What flight would you fancy?

Friday, August 27, 2010

Project Quilting - Nursery Rhyme

The final challenge of the first season of Project Quilting required that a nursery rhyme be the inspiration.  No other restrictions were given and the translation did not need to be literal. 

I worked on this for most of the week...


with Cinderella as my inspiration.  While stitching Saturday morning, the day before the challenge was due, I was composing the narrative in my head.  I remembered watching the prince offer his hand to Cinderella for their first dance together and how my heart went pitter-patter.  I'm a confirmed tomboy with jeans and a T-shirt as my "uniform" for the winter and cut-offs and a tank top for the summer.  But there's something about a fancy dress and a waltz that gets me.  Around about this time in my musings it dawned on me (I'll bet you were WAY ahead of me) that Cinderella is not a nursery rhyme.  Drat!  Duh!  Drat!

Her dress was set aside and I started again.  This time with the nursery rhyme....

Mary, Mary, quite contrary,
How does your garden grow?
With silver bells and cockleshells,
And pretty maids all in a row.

A little research on the web told me I didn't want any more inspiration thank you very much.  Ick.   So I thought about niece Mary (and, no, she's not contrary! just pretty & sweet) watering a pretty garden with rows of flowers.   As ruffles were to be a part of my original quilt I couldn't let go of the idea.  I ruffled some strips of green and sewed them into the seams of the quilt for grass. Then I ruffled down the center of a few small print floral fabrics and sewed through the center for rows of flowers above the grass. 


Next I quilted stems and leaves between the grass and the flowers and surrounded all of it with green and white stripes to represent a white picket fence.


Mary started a web-site this week for her business called "re:Fresh by Mary" so I had a little fun with the name and called my finished project "Mary's re:Fresh-ing Garden".


All the rest of the projects can be seen at the Flickr page and at Kim's Crafty Apple.

Monday, August 9, 2010

Project Quilting - Black & White Challenge


Challenge Rules:

Must use black and white. 
May use one other color. 
Finished piece may be 3D but must NOT be square or rectangular.

I've been wanting to do circle blocks for a few challenges now so here was my chance.  I decided on seven circle blocks... six blocks surrounding one in the center.... all laid out on a scallop-edged circle.  Not being sure what block to use, I made several different basic blocks for a sampler look.  A rich Moda Marbles Red would be the third color.  I added little strips of the red to the blocks also.  Anywhere the black and white would have laid next to each other is a strip that's less than a 1/4" wide. 


My biggest problem was trying to figure out how to make the circle shape symetrical.  I experimented with a large sheet of wrapping paper and thought I had a pattern but it was a bit too small.  Since I had gone to the edge of the wrapping paper I couldn't go any larger with an entire pattern so I made a pattern for just one "petal" of the shape - one sixth of the total.  I played with paper and fabric until I found a way to fold the fabric in six equal layers so the petal shape could be used to cut through all the layers and create the whole piece.  I was pretty excited to figure this out.  I'll be using this technique again.


The blocks are fused to the background and I thought about zigzaging around the edges with red thread but then decided to add Fun Fur to jazz it up.  The quilting is echo quilting along most of the red strips.


So.  Jazzed up? Or ready for a bordello?!

To make it dual purpose, I added fabric loops at the indents of the scallops and sewed little metal rings at the outside edge or the rounded parts.  Then several strands of Fun Fur was braided through these.  Turn it over, insert bottle of a favorite beverage (no, not pop!), draw up the Fun Fur and you have a unique hostess gift.


Party Sampler!

More project entries can be seen at Kim's Crafty Apple and at Flickr.