You won't mind "brown bagging it" with this fresh looking lunch bag that can be used over and over. And it's easy to make!
Step 1: Gather your materials
1 piece of vintage linen cut 11" x 20" (bag exterior)
2 pieces of vintage linen cut 3" x 12" (bag handles)
1 piece of solid coordinating fabric cut 11" x 20" (lining)
2 pieces of solid coordinating fabric cut 5" x 5" (flower)
Thread
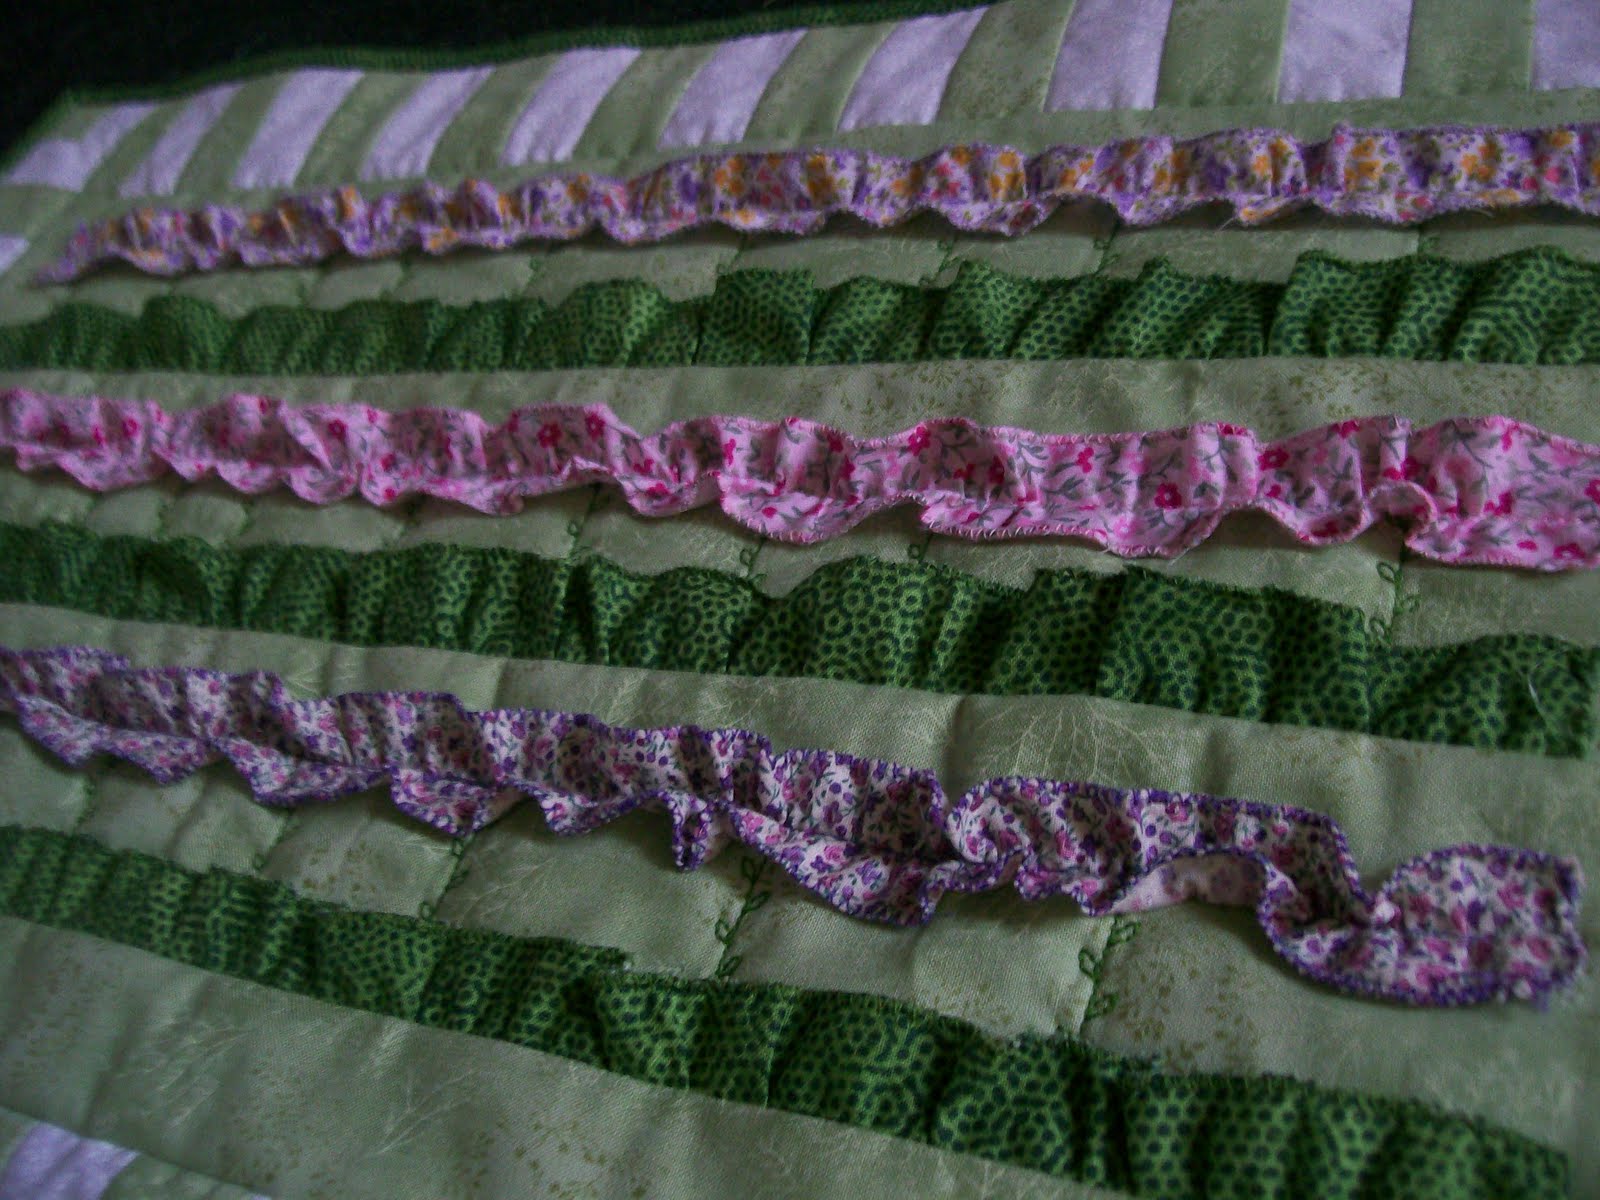
Ric Rac
Step 2: Construct handles
Press both 3"x12" pieces in half lengthwise.
Open.
Fold long edge in to pressed line on each side.
Press each of these new edges, but don't press over the first pressed line.
Fold in half again lengthwise.
Top stitch close to each edge.
Set aside.
Step 3: Construct bag exterior
Fold 11"x 20" piece of vintage linen in half, right sides together.
Draw a 1" square at each corner of the bottom of this piece.
Manipulate one of the bottom corners that you cut so that sewn seam touches the start of the bottom fold - you should have raw edges of fabric on each side of this point - sew together to form one side of a square bottom.
Repeat with the other cut corner.
Step 4. Construct liner
Same way you constructed the exterior...
Step 5: Put it all together
Turn liner bag right side out.
Place liner bag inside exterior of bag (which is inside out... so right sides are together).
Place handles between these two pieces with the raw edges of the handle just barely sticking out. The ends of the handle should be about 3" apart. Pin in place. Do this with each handle. (You may find it easier to place the handles if you pin them just to the exterior first, then insert the liner and repin.)
Stitch almost all the way around, leaving about 2 - 3" unsewn.
Use opening left to turn bag right side out.
Topstitch all the way around the top of the bag including the opening you left.
Step 6: Embellishing
Topstitch ric-rac just below the edge of the top.
Make flower by tracing a circle (I use a small coffee container) and sewing the two 5" squares together on the circle. In the center of just one of the circles cut a small opening.
Pull circle through this opening so the seam is inside. Hand stitch - with large stitches - a circle in the center of the flower; leave long thread hanging. Stuff the center of this little circle with bits of batting. Pull on thread to gather circle and this will ruffle the outside edges of the large circle and will form the flower. Hand stitch to the bag around the edge of the little circle.
Load and go!
This is my first tutorial...
any suggestions, questions, and comments are welcome!